Here we are at the final reveal for the One Room Challenge. As I’ve mentioned before, I love these challenges as motivation to complete a project with others working on theirs at the same time.

I set out to continue projects started in Spring 2020 which included exterior updates and in the vegetable garden.
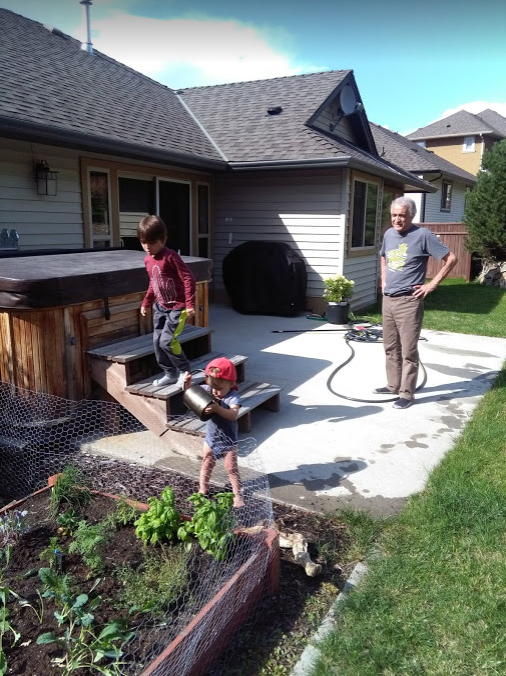
Vegetable Garden
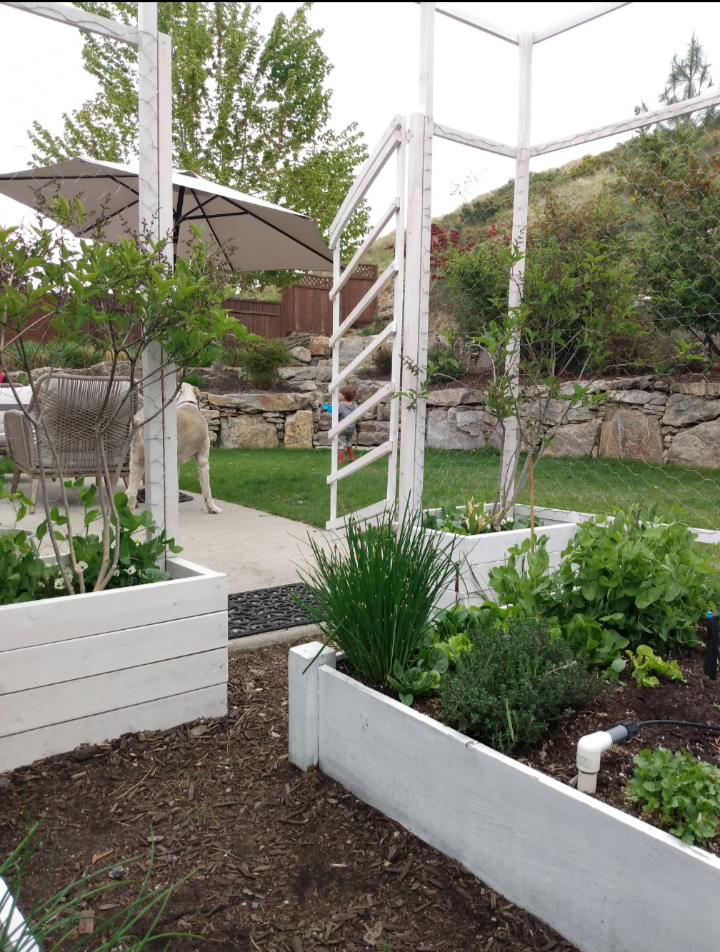
Here’s a look at where we started when we moved in July 2019 and where we are now almost two years later. The changes are mainly from changing paint/stain colours and adding furniture, plus fencing to protect the vegetable garden from deer.


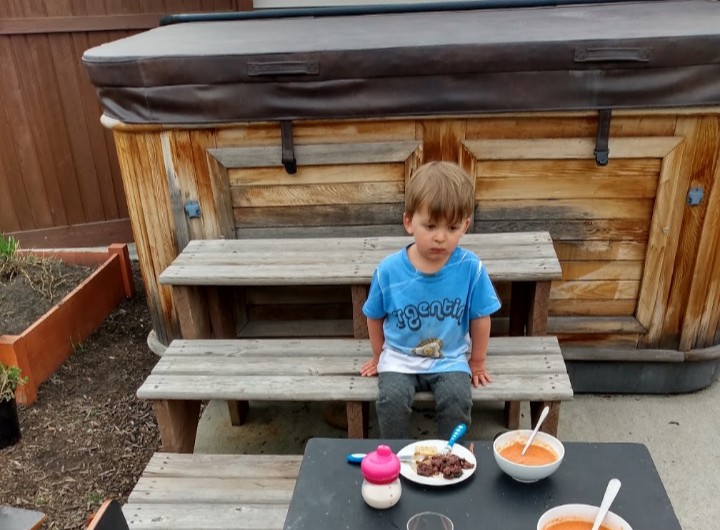
The majority of this area was completed last year for the One Room Challenge. I painted the existing raised beds white, stained the hot tub taupe & built deer fencing to create a garden room.

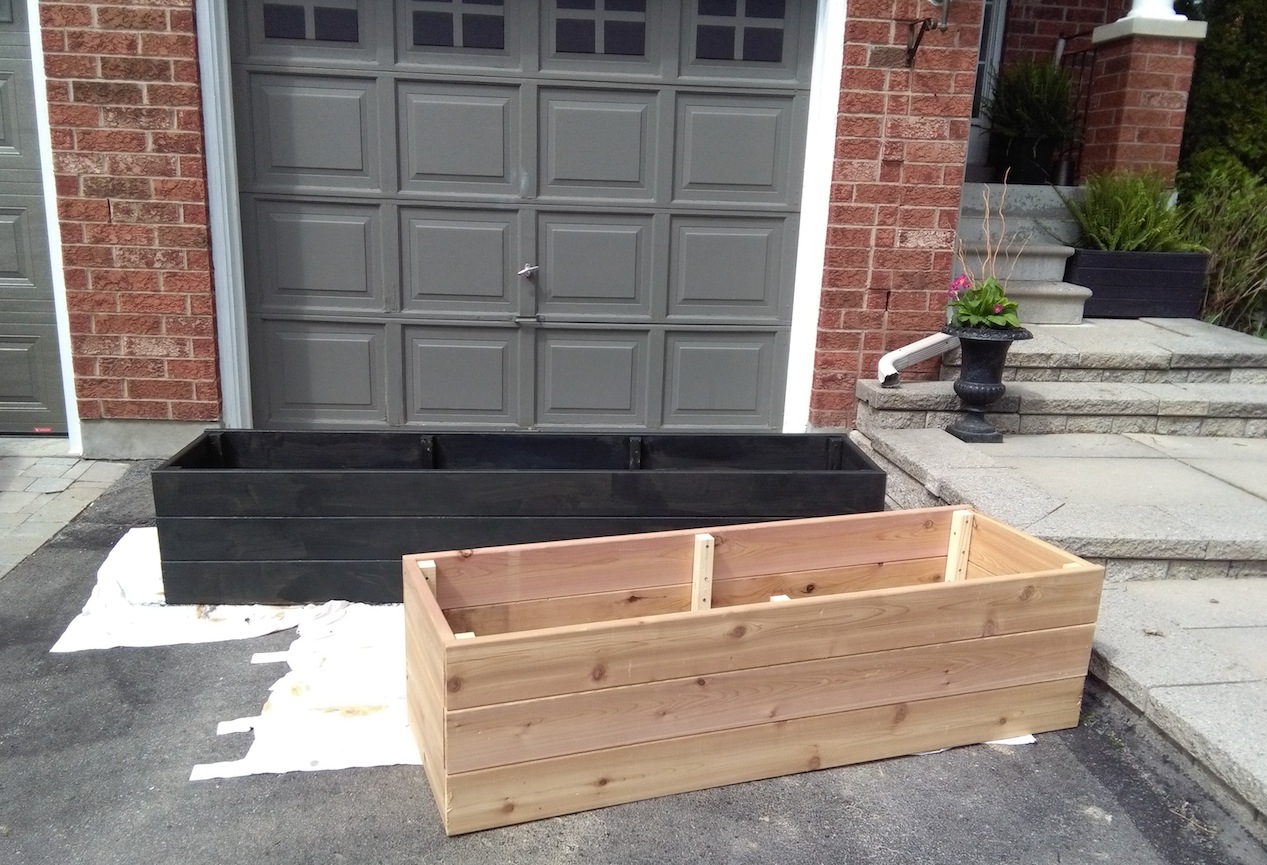
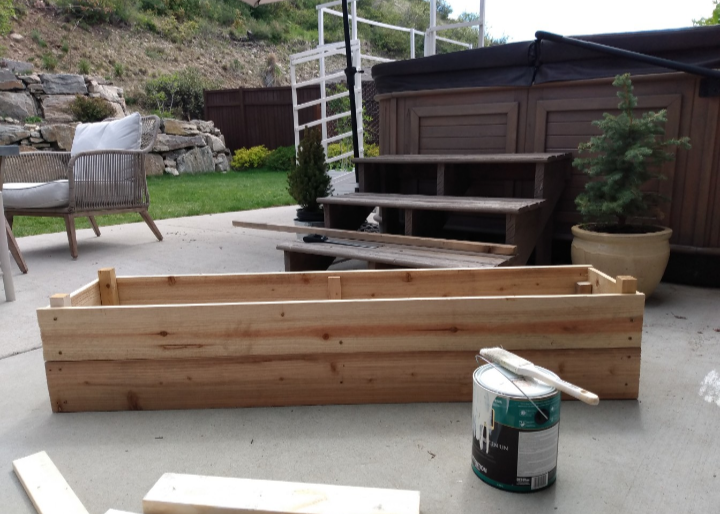
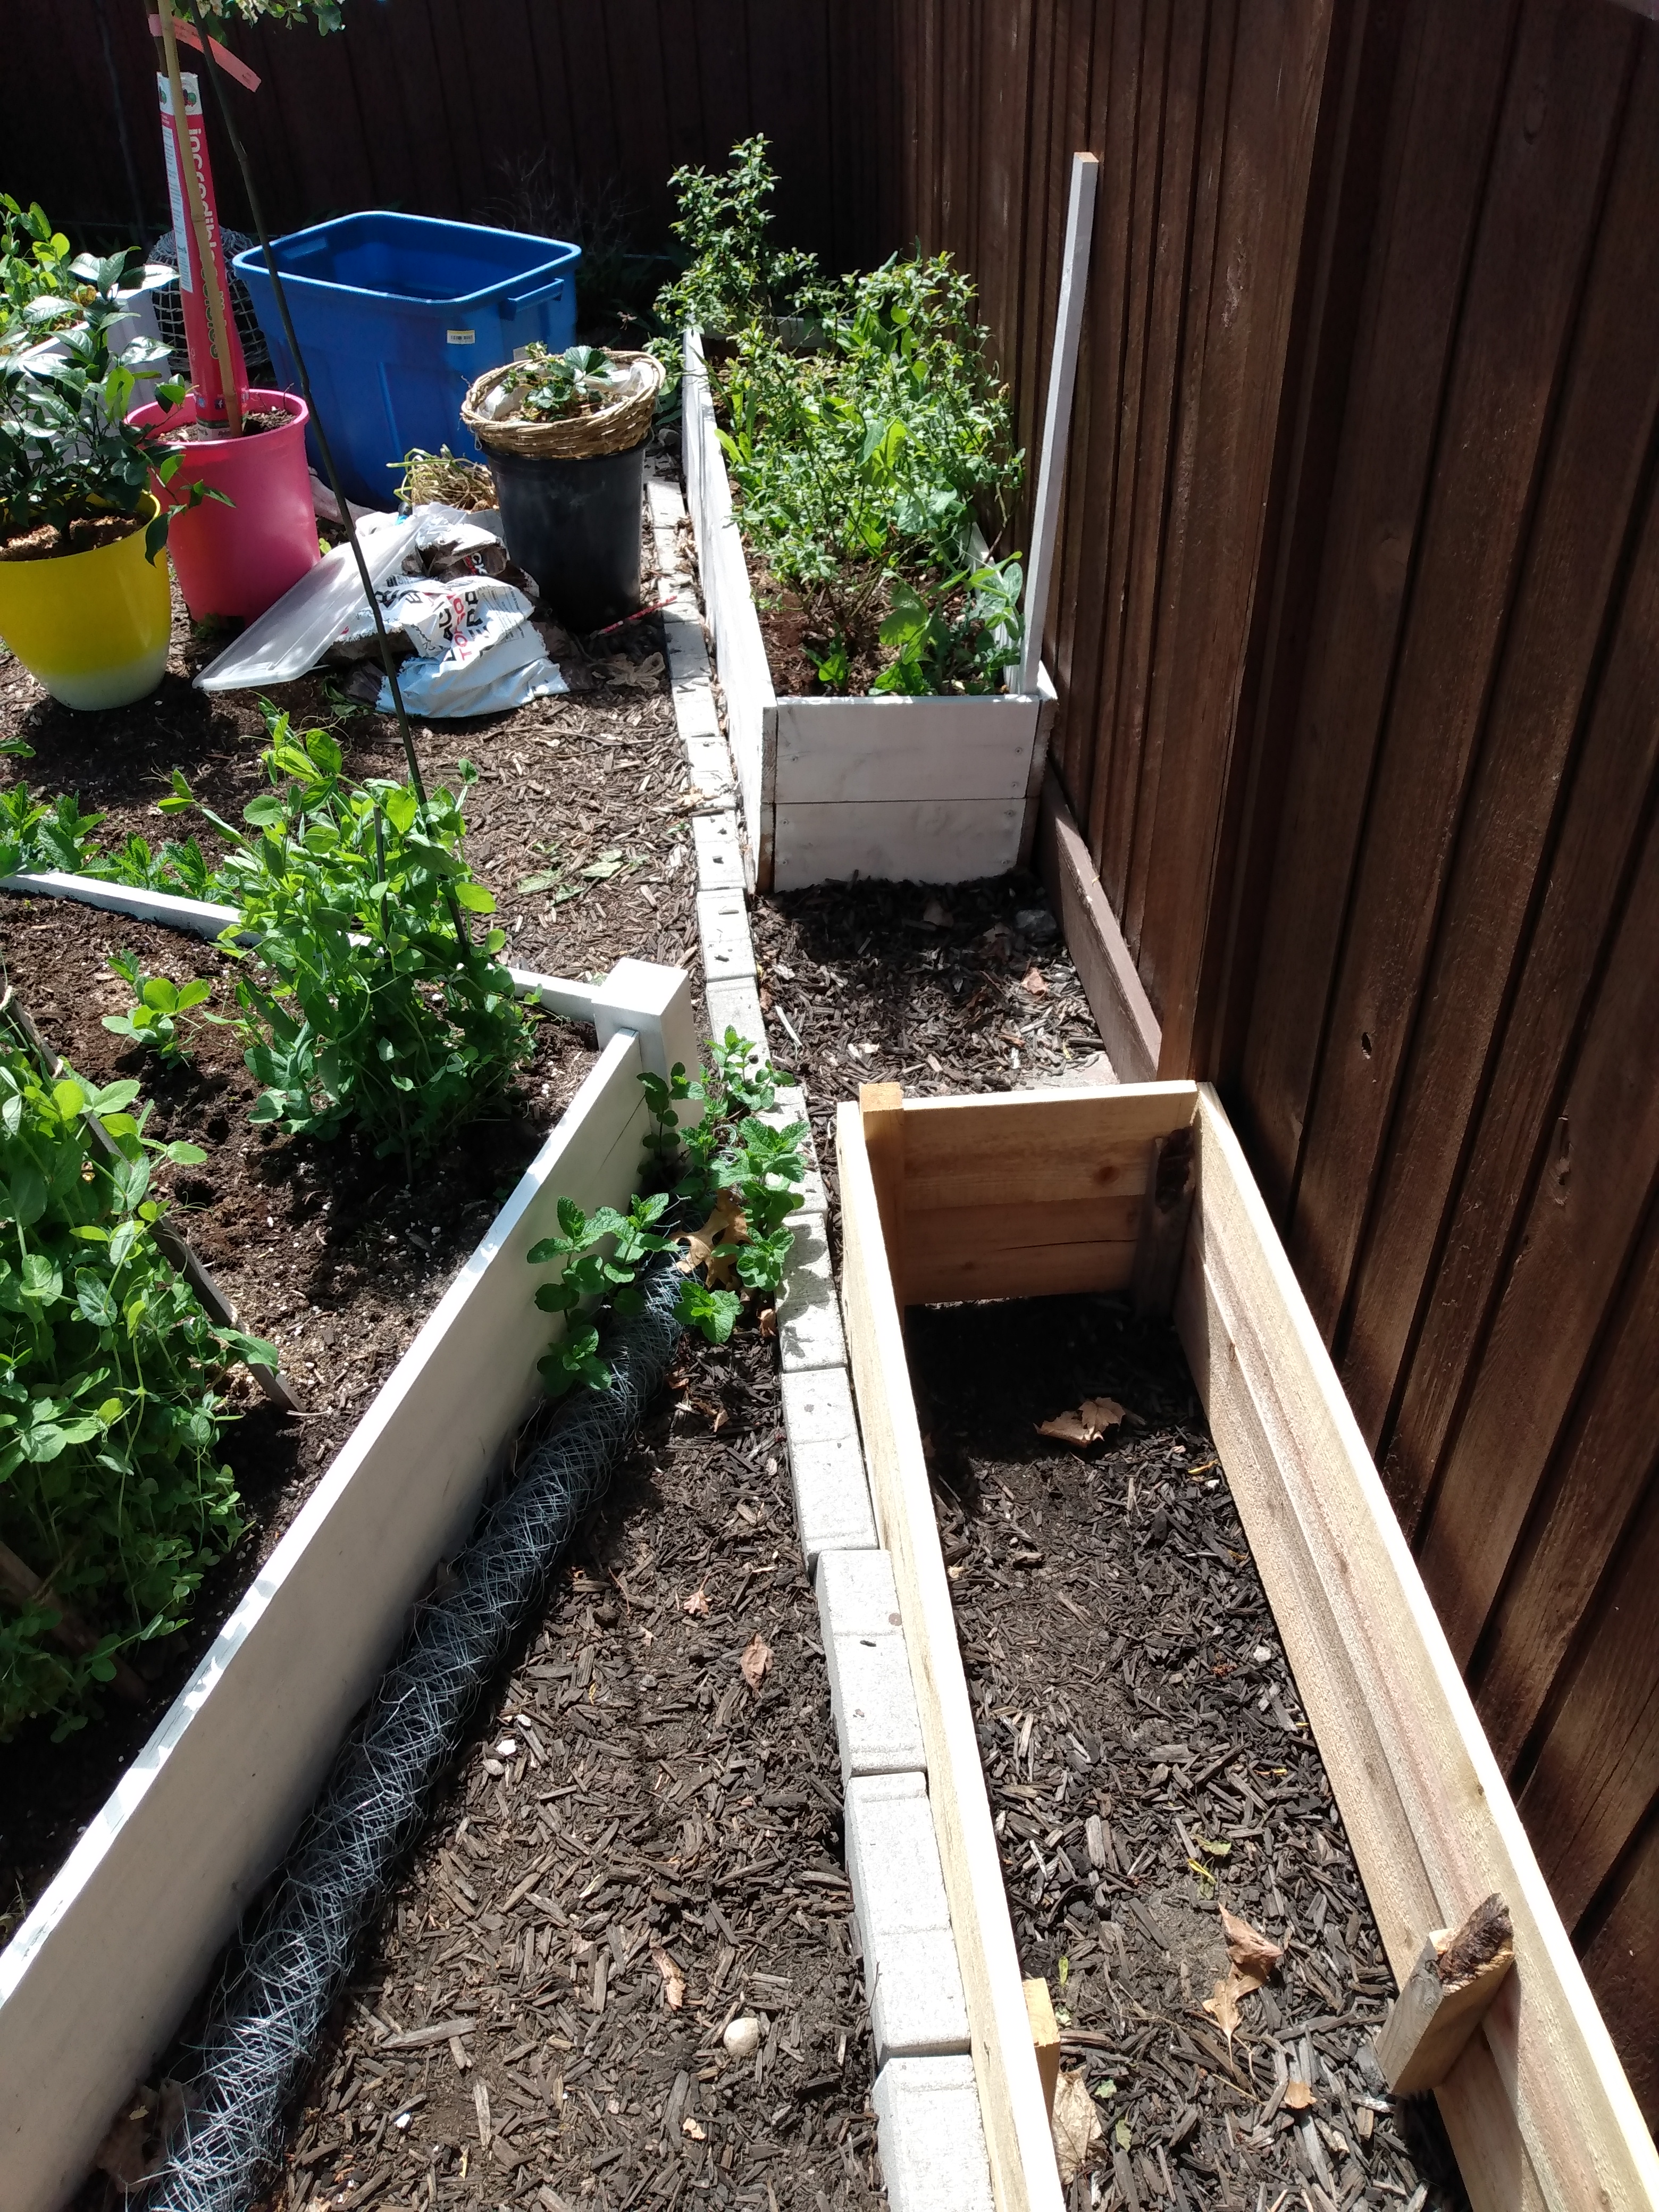
I added a couple of other raised beds this year and as well as an apple tree nearby and a nectarine tree.
We went crazy with the peas and now that I’ve harvested them all the beds look empty.

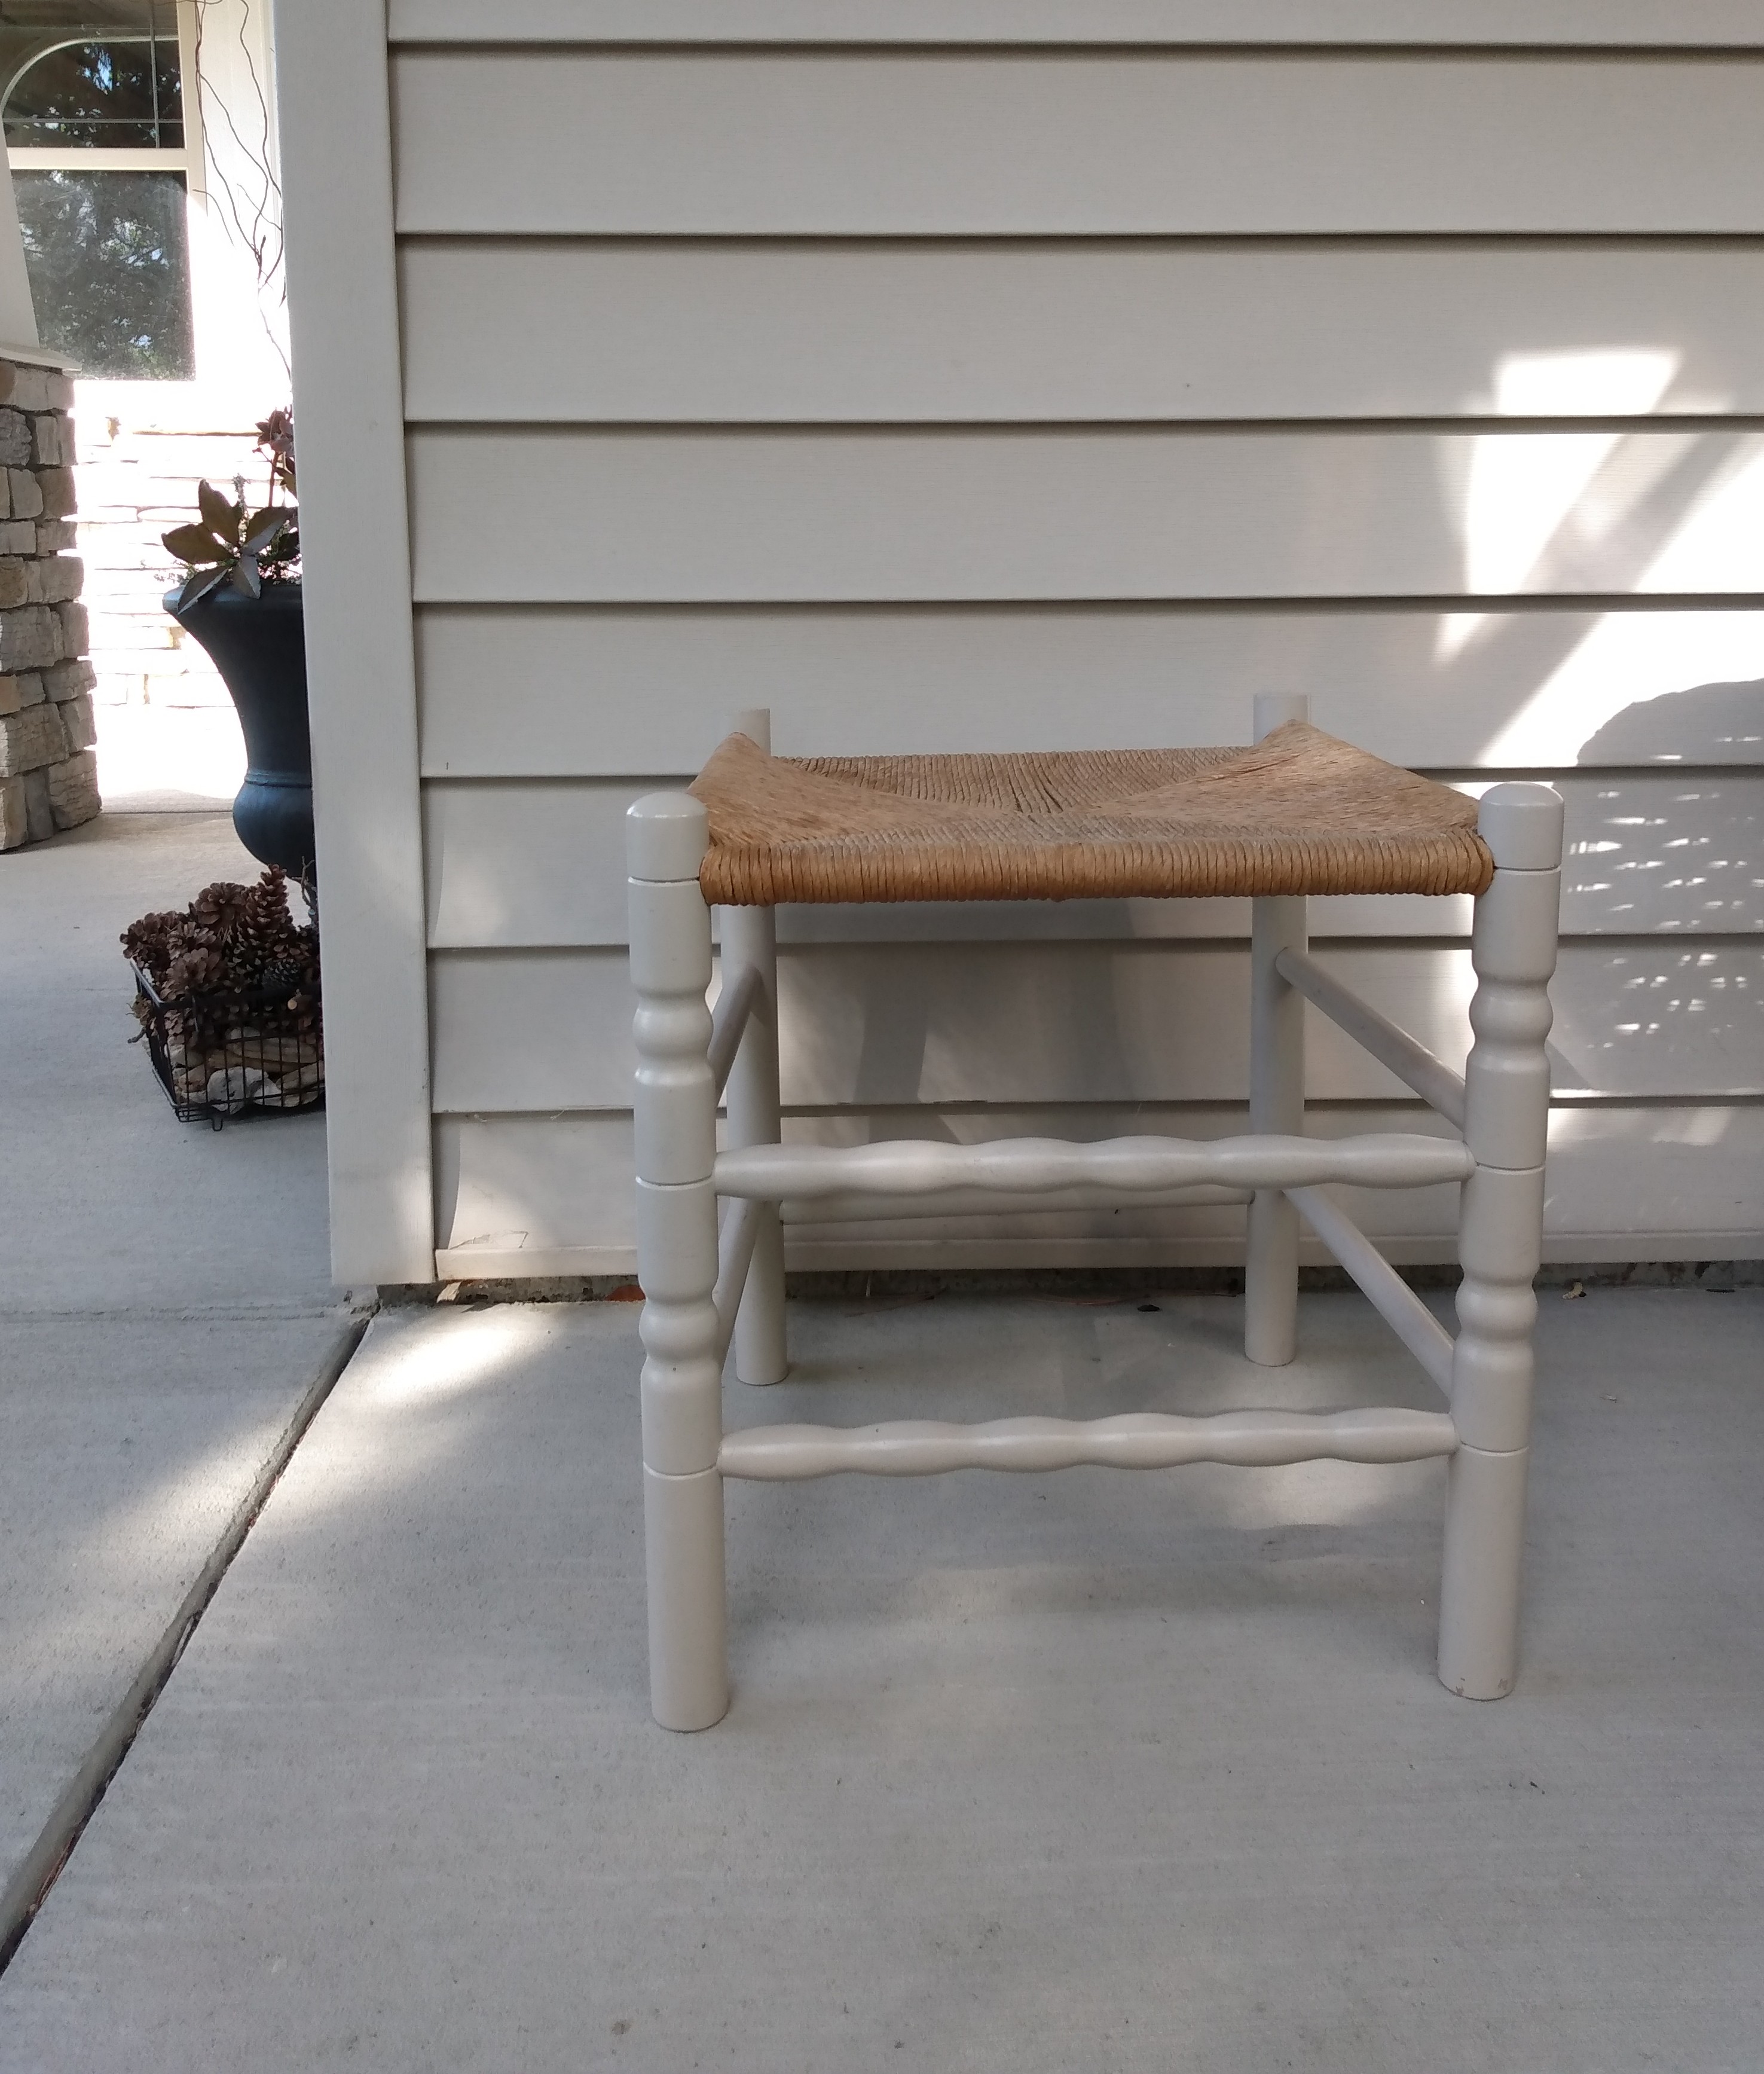
Front Porch Reading Area
The biggest change this year came from adding furniture to make a cozy reading area at the front of the house. Now we actually use this space.

I had foam cut and I sewed an outdoor bench cushion for this wicker loveseat. Since I couldn’t find a round table the right size and price I used a sturdy basket upside-down as a coffee table.

The cushions I made and the bright yellow one is from leftover linen I had from the masks I’ve made.

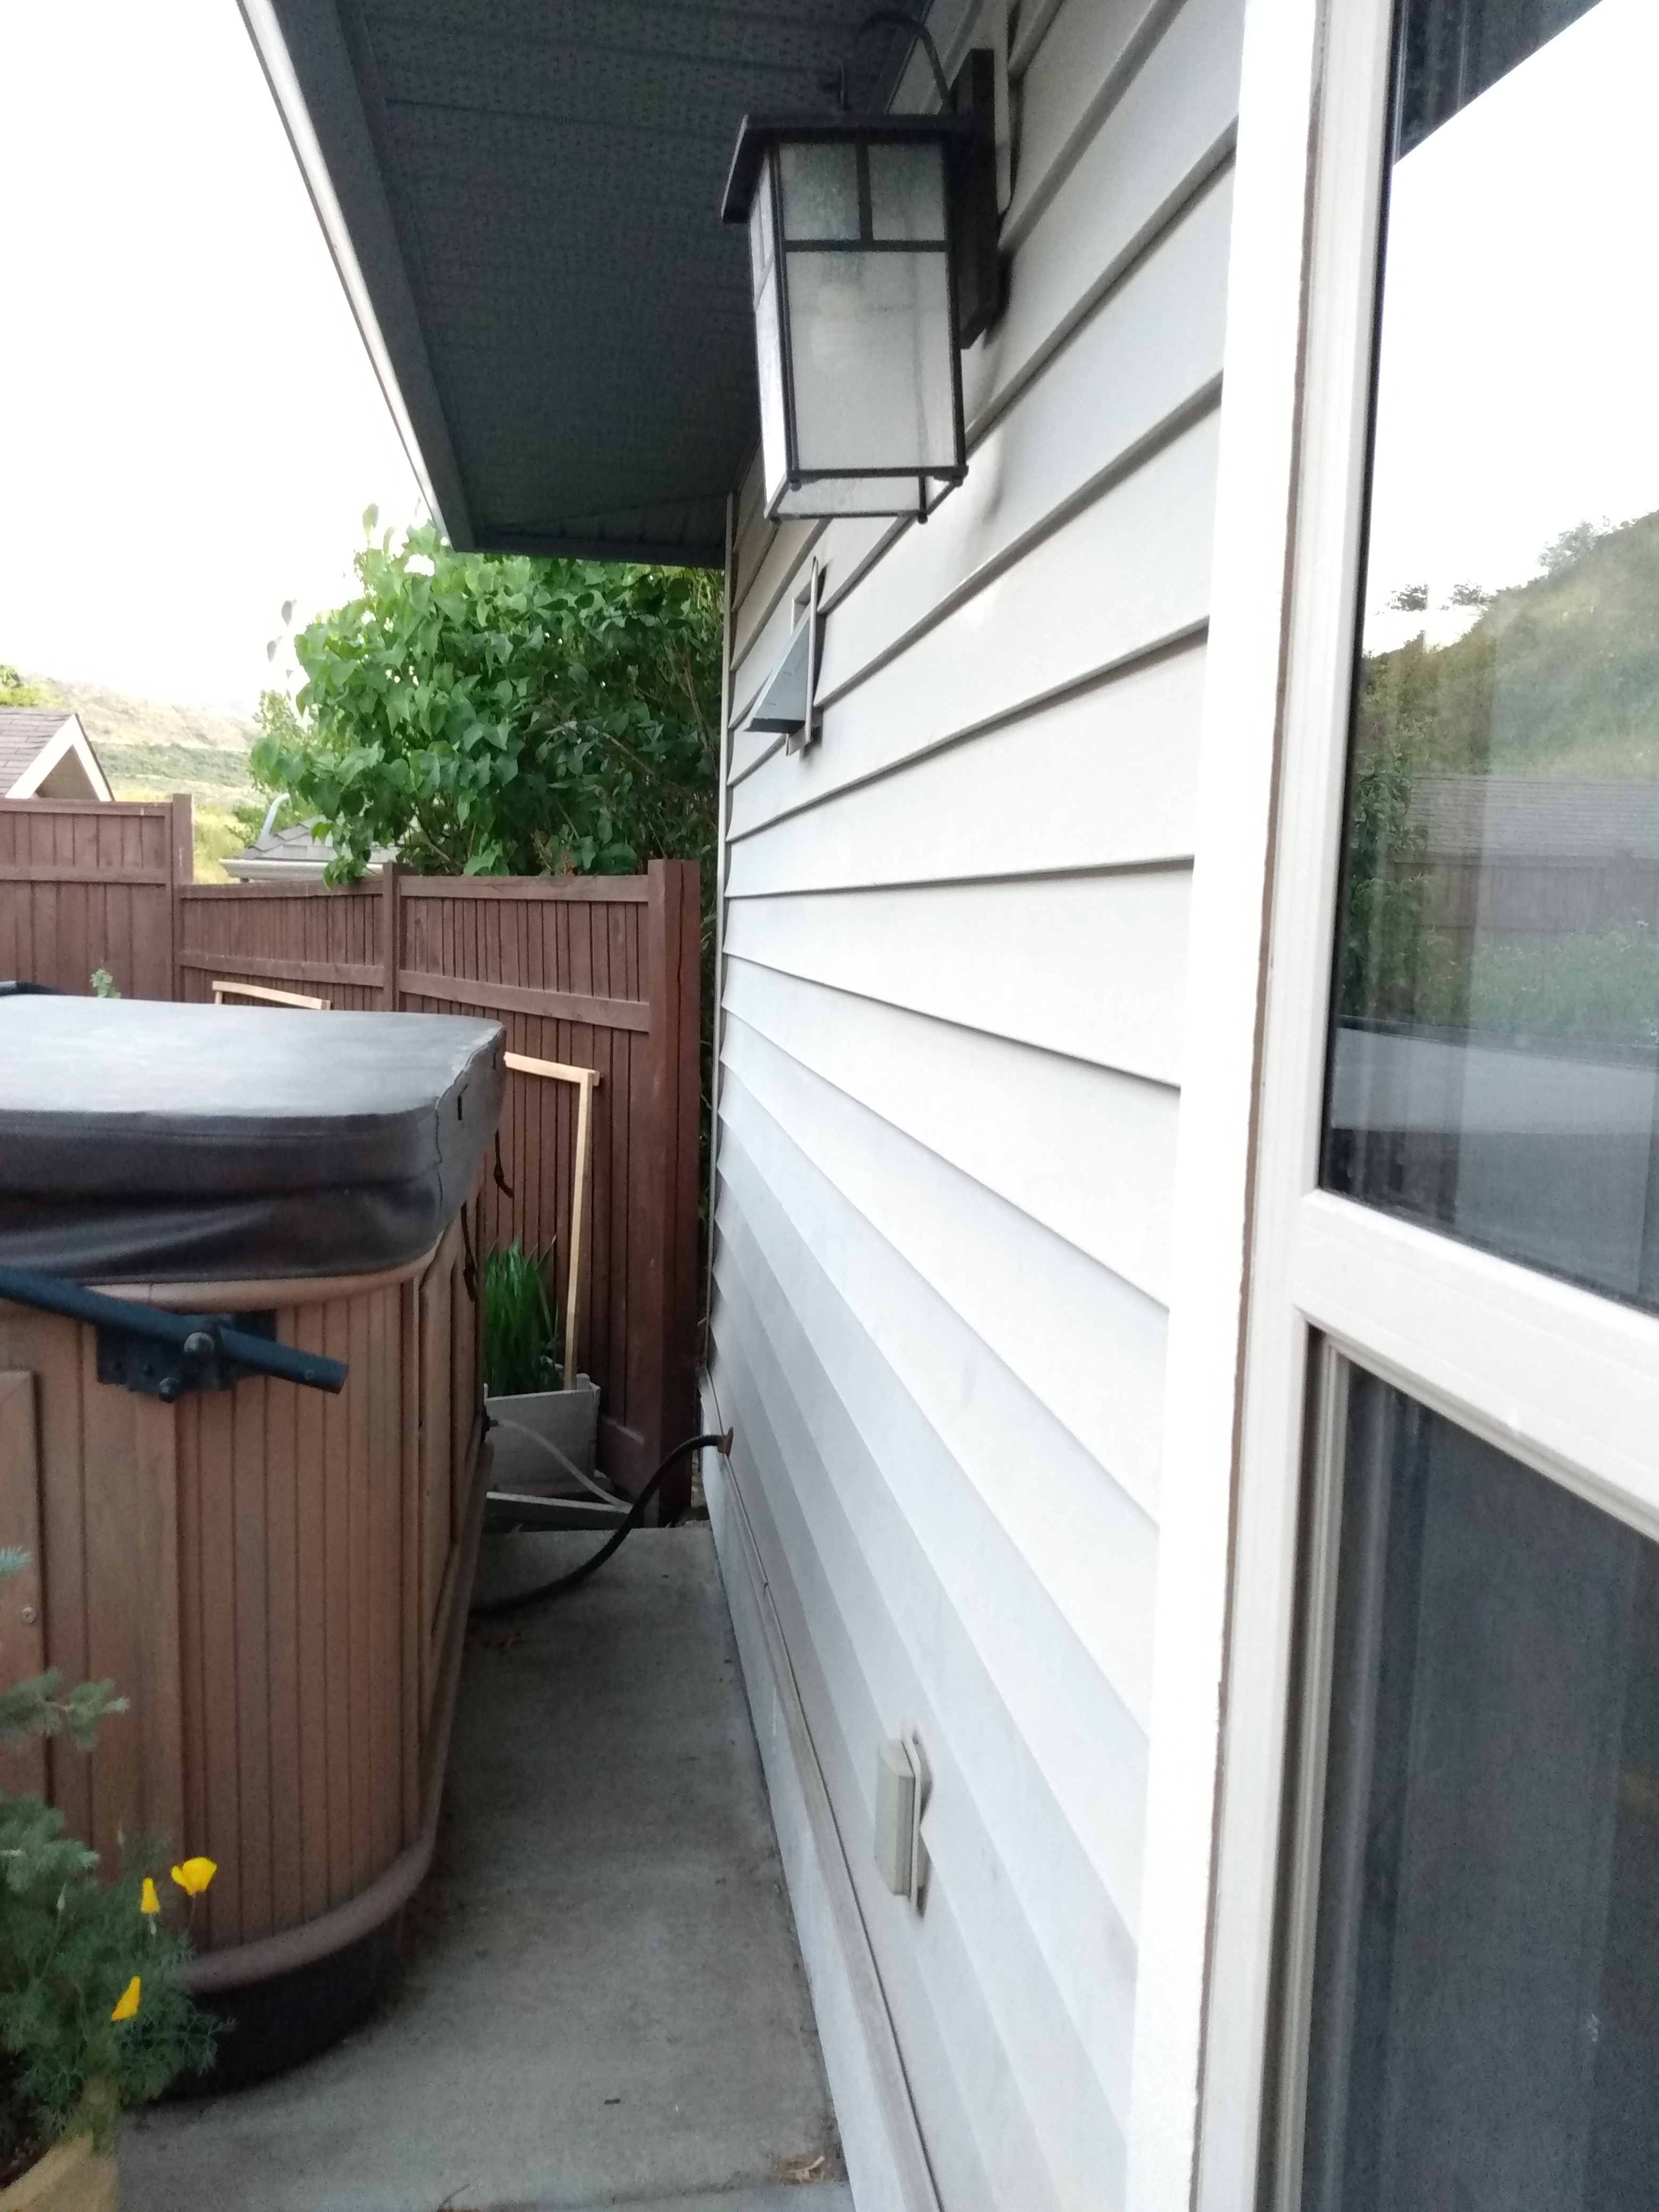
Since deer hang out in the shade next to the house too I’m not bothering with plants and instead clipped some branches from shrubs we have that I know deer don’t like. Bonus, no watering in this extreme heat.

To see what this space started like head to Week #1 ORC – Spring 2021 -Exterior Updates Week #1
To see what everyone else completed for this round of One Room Challenge check out the blog: www.oneroomchallenge.com/blog/orcspring2021wk8